Import Walls Data
Create Station and Vector Report
First you must create a Station and Vector Report with Walls, so that Breakout can use the station positions calculated by Walls loop closure.
With the project open in walls, select the root of the project or book you would like to import, and click the Compile or Review button.
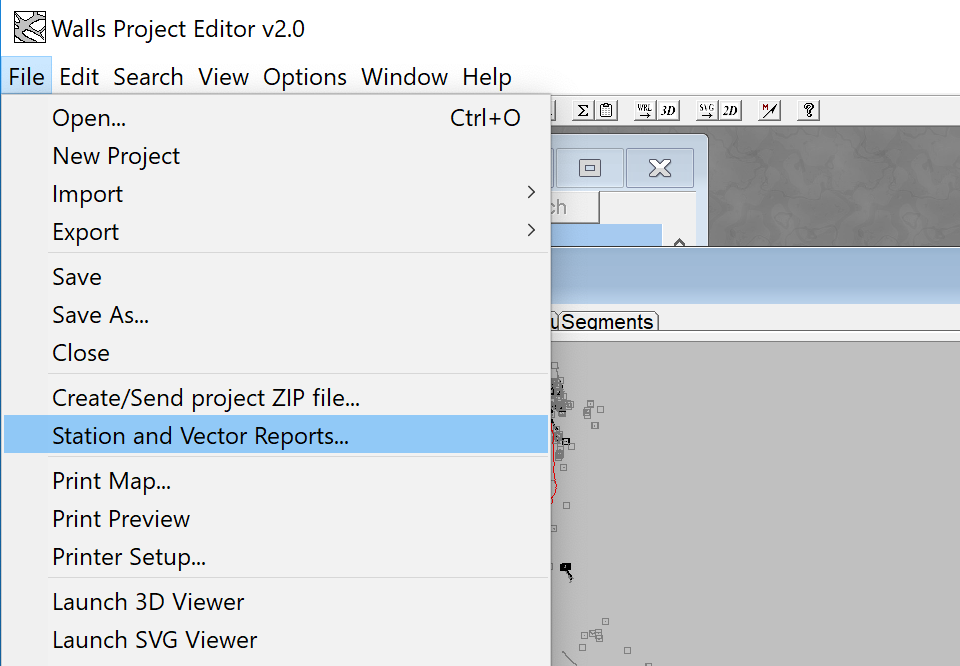
Once the branch is compiled, go to File > Station and Vector Reports...
In the dialog that appears, use the options pictured below, and make sure the
output file is in the same directory as the .wpj file you would like to
import.
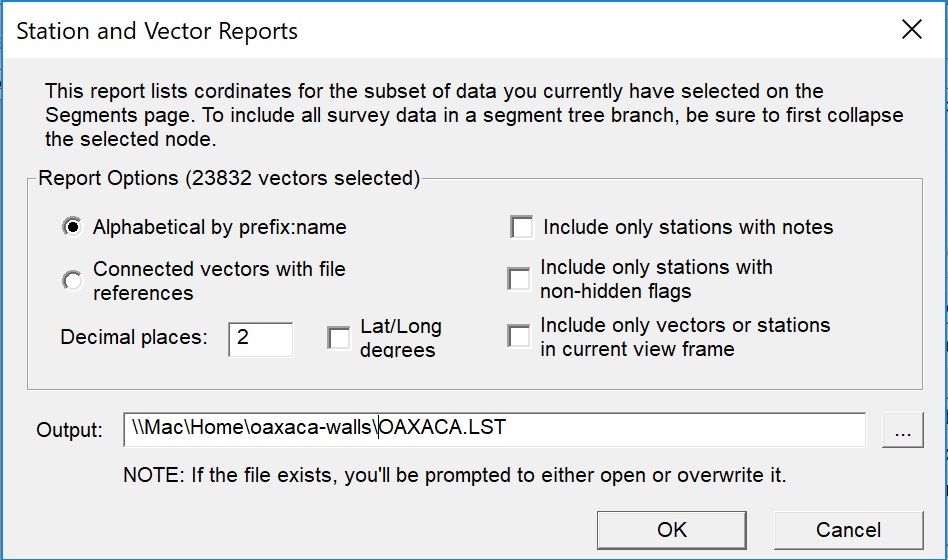
Click OK to save the .LST file with station positions.
Import data into Breakout
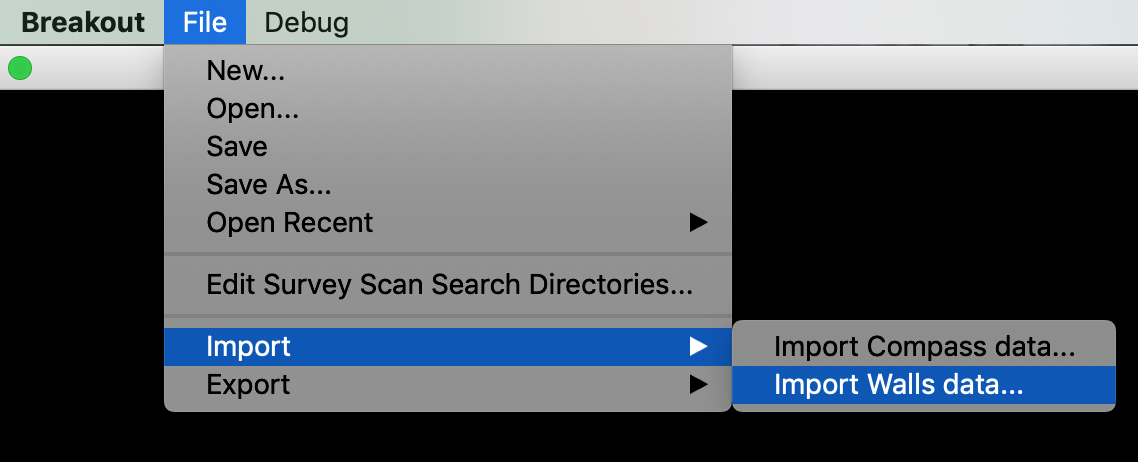
Now in Breakout, go to File > Import > Import Walls data...
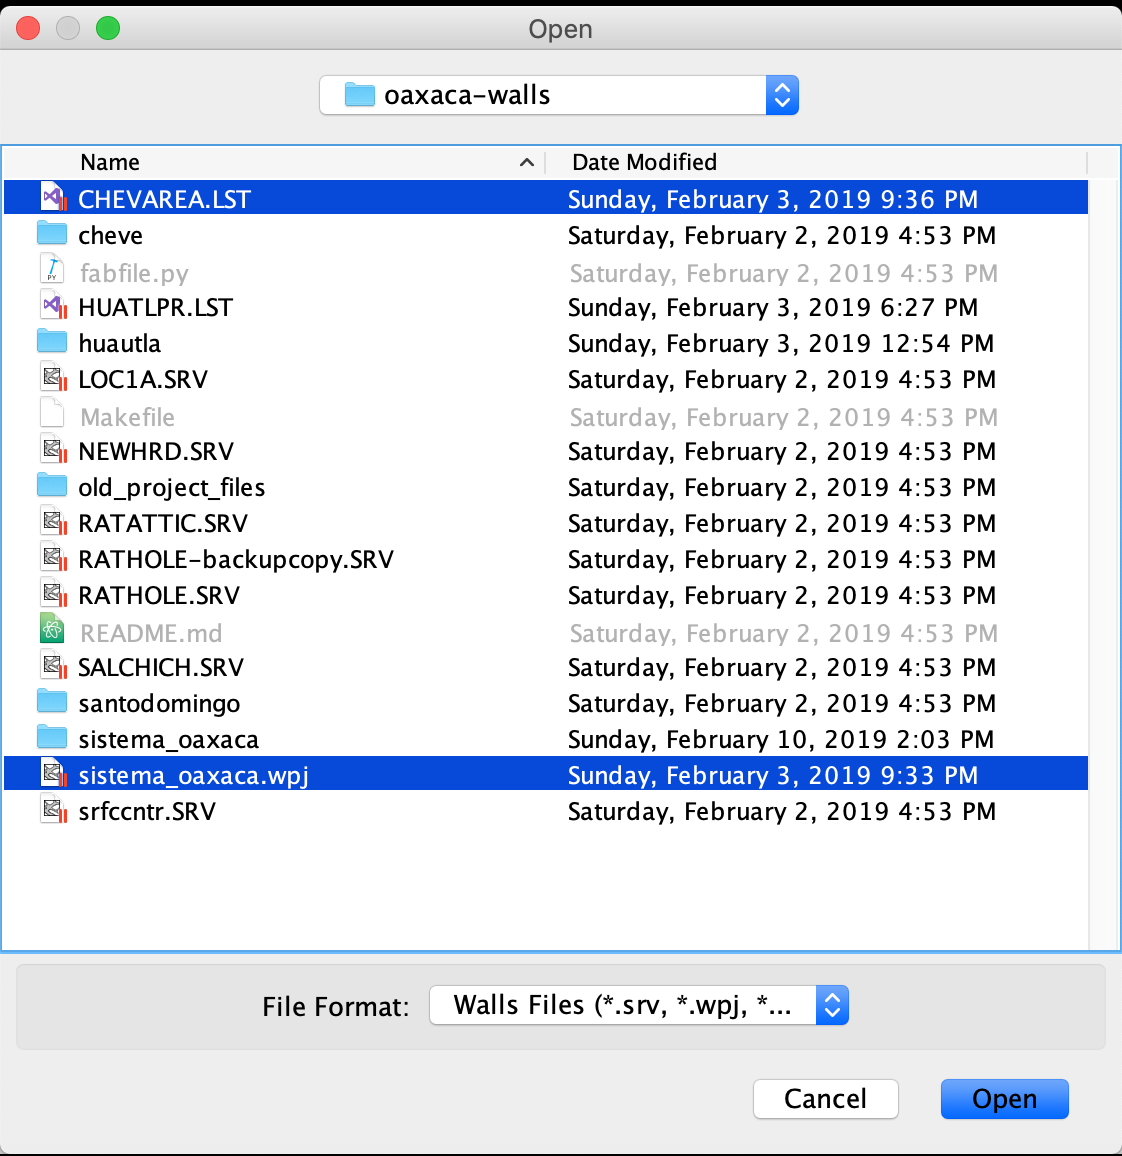
Breakout will ask you to select the files to import. Select both your .WPJ
project file and the .LST file saved in the last step. (To select the second
file, hold Ctrl and click on Windows/Linux or ⌘ and click on Mac OS):
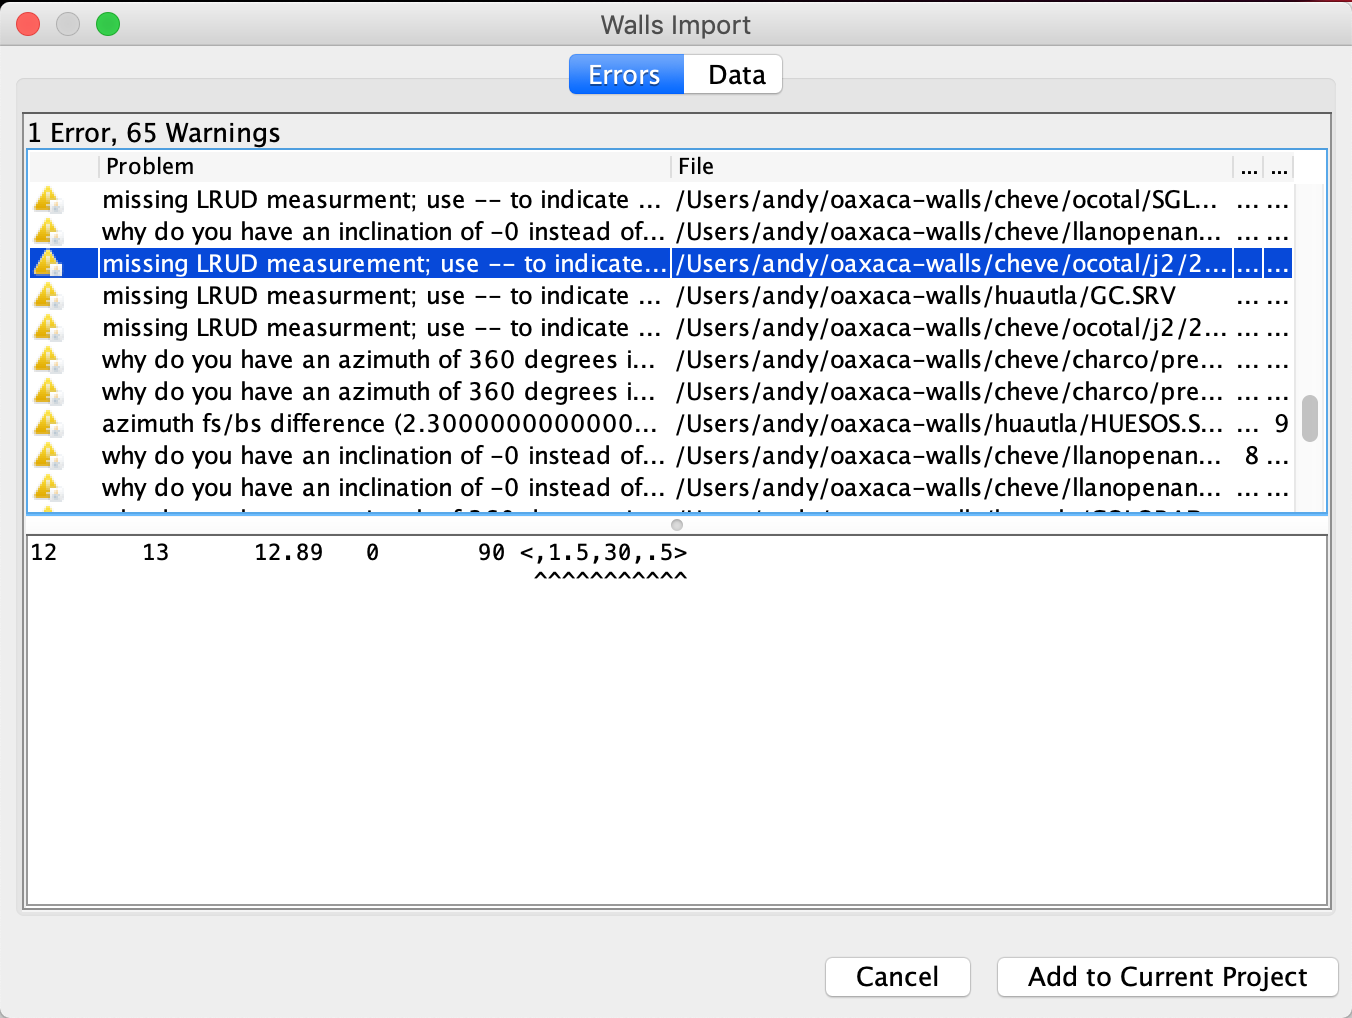
Click OK. Breakout will show a progress bar while reading the Walls files. Once it is done, the a results dialog will appear, showing any errors and warnings about the imported data.
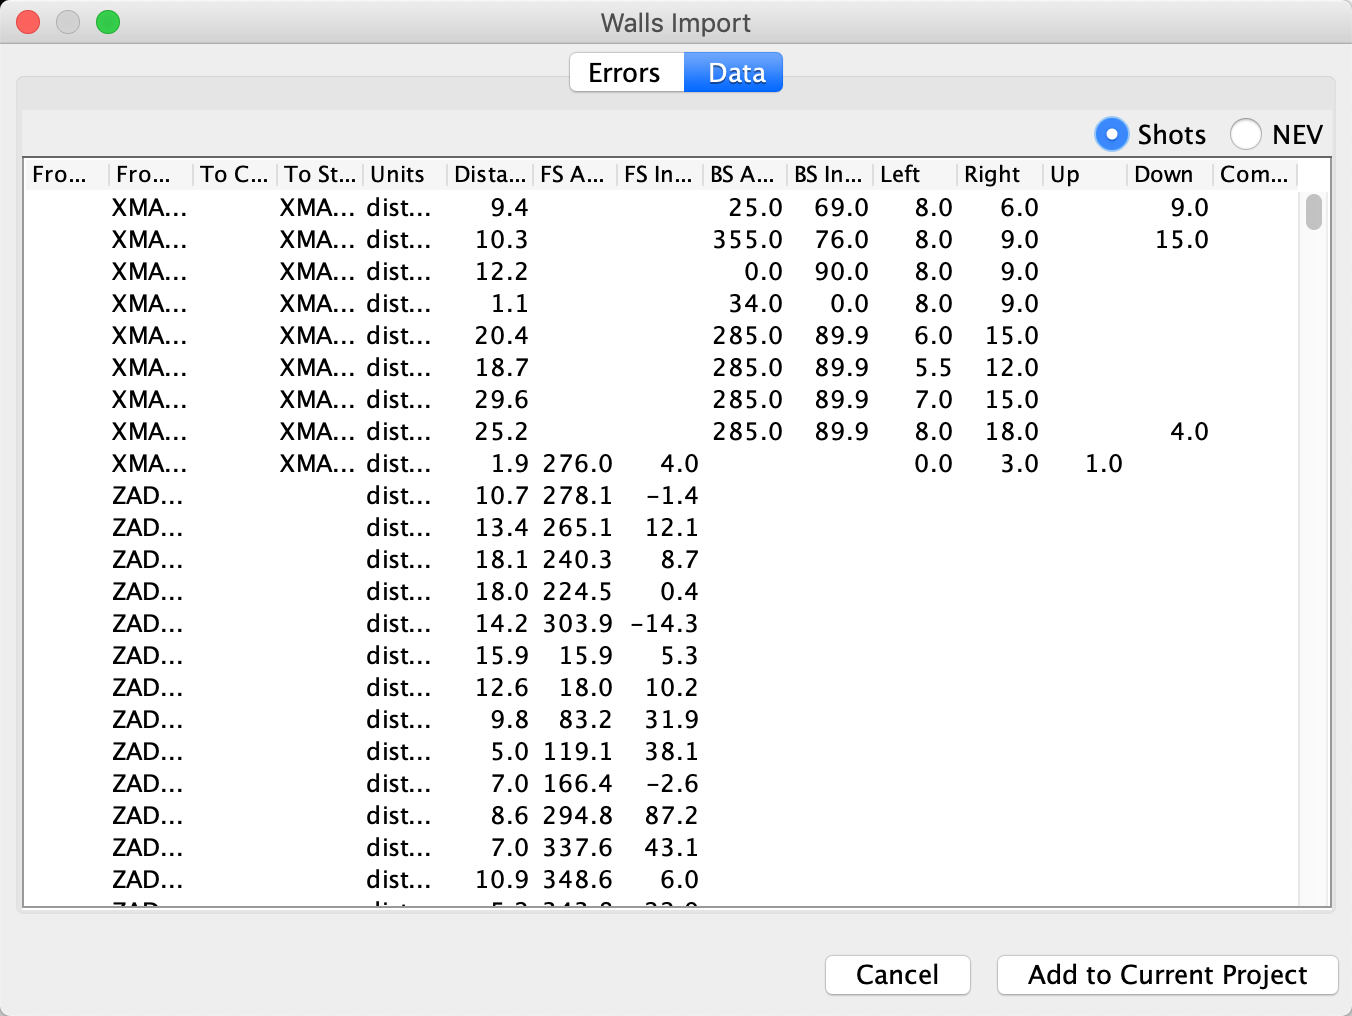
You can click the Data tab to see the shots Breakout imported:
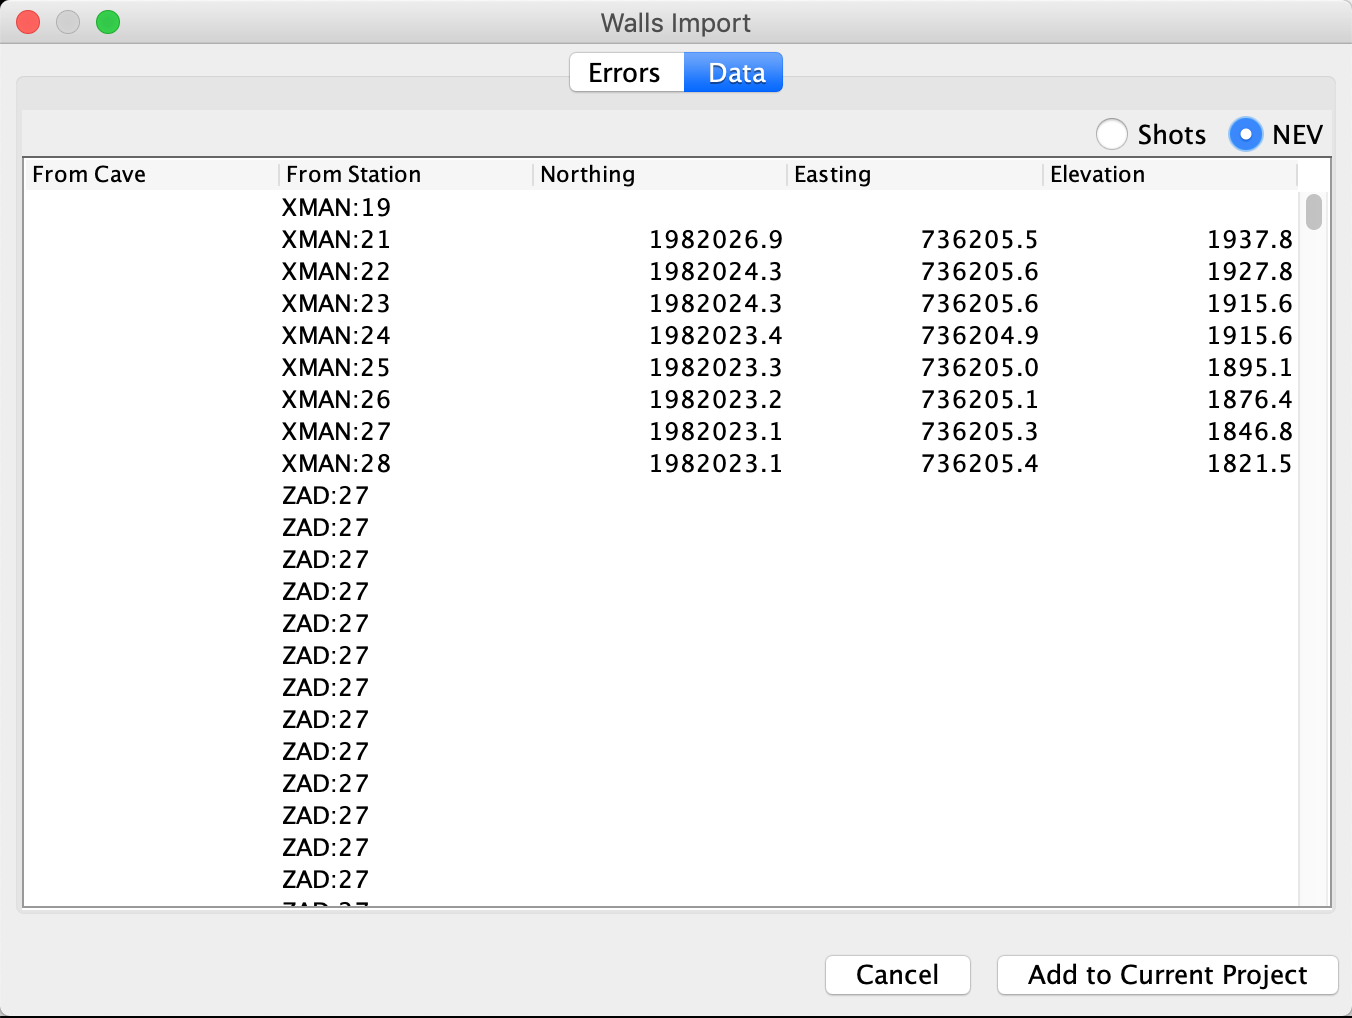
It's also good to verify that station positions were imported by selecting the NEV option in the Data tab. Any stations for which the Northing, Easting, and Elevation columns are blank will have their position computed by Breakout using very basic calculations without loop closure.
If you are satisfied with the imported data, click Add to Current Project. You will see a progress bar at the top of the window that indicates it is parsing the survey data and creating the 3D model. Once it is finished, if everything goes well, the data should appear in the 3D view.
Save Breakout File
If you save the imported data in Breakout's format, it will be easier to reopen next time you launch the program. Go to File > Save and choose a file in the Save dialog. This file will then appear in the File > Recent Files list for quick access.